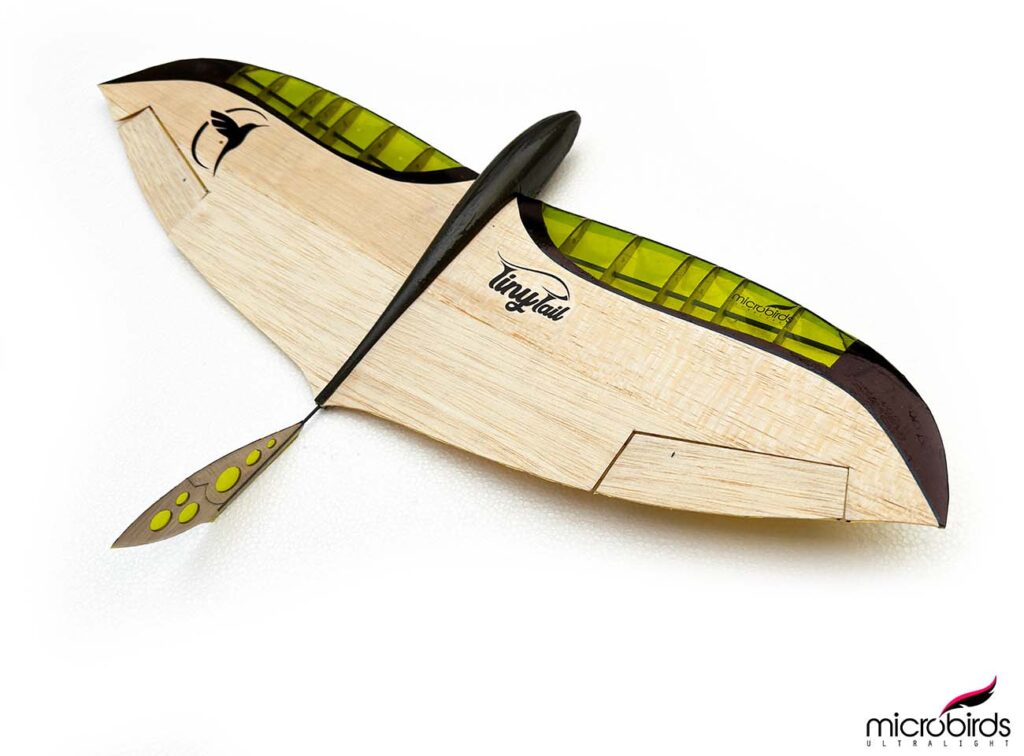
RC Electric Glider – Slope Glider – Free Flight Glider
Love at First Flight
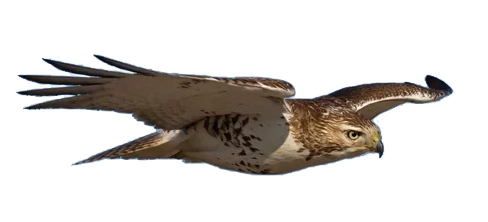
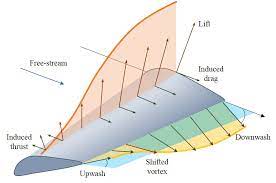
Birds have mastered the art of flying for millions of years, showcasing their remarkable physical prowess in the natural world. Avian species like eagles and hawks have extraordinary capabilities ascending effortlessly to significant heights above canyons, mountains and hilltops. Designing artificial wings for radio controlled flight poses a intricate challenge, incorporating various elements like aerodynamics, materials science, and engineering. Having observed eagles and hawks for many years, their flight patterns serve as essential parameters that must be taken into account when designing aircrafts.
Tiny Tail Flight Footage
Wing covering method
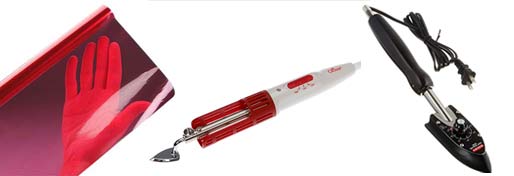
We recommend covering the top 1/3rd of the leading edge with the provided lamination film, this will strengthen the over all structure of the wings, especially if you will be bungee launching your Tiny Tail. You may also omit the top lamination film and simply cover the entire top of the wings with the provided balsa sheeting. If only slope soaring or free fight gliding, you may also omit the lamination film and simply cover the entire top of the wings with balsa sheet.
To cover the top 1/3rd of the leading edge of your wings, a heat iron can be used. Mini heat irons work best with variable heat adjustment. Few brand names to choose from that may be purchased from ebay or amazon are: Clover Mini iron ii, Mini plancha para patch, Mini-Bügeleisen MB-3415, Ming Yang sealing tool Large heat iron/sealing iron will work as well, make sure to use low heat. Both irons must have cloth sock on head to prevent iron from sticking to lamination film. Regular cotton sock can be used.
To cover the bottom of the wings, light weight colored tissue paper is used and included in your kit.

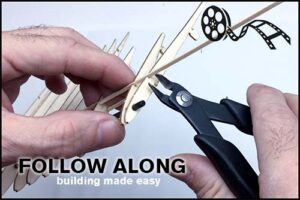
While one might assume that constructing model airplanes is a challenging task, the reality is that building them is quite straightforward, especially with the help of our step-by-step video build guide. The building process only requires a few basic materials (sandpaper, glue, pliers, patience, etc.), and with just a few hours of dedication, you can become proficient at constructing your own Tiny Tail RC glider or Tiny Tail free flight glider.
Package Options
Short Kit: Short kit only includes contest grade precision laser cut wing ribs, tail feather and all other balsa parts.
Kit Pack: Kit pack includes contest grade precision laser cut wings/fuselage/ tail feather, control horns, carbon fiber reinforcements, shrink tubing, Z bends, laser cut control horns, carbon fiber pushrods, carbon fiber main spar, carbon fiber tail spar,carbon fiber tissue veil, ultra thin CA glue nozzle, lead weight ballast balls, mini brush, launch hook, tissue covering film. Kit pack includes the build page, plans and step by step video build guide. Kit pack is all you will need to build the free flight version.
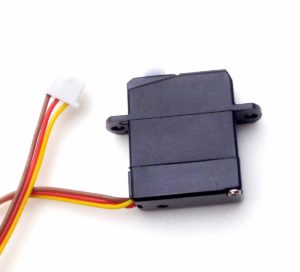
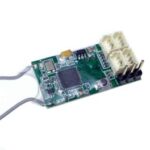
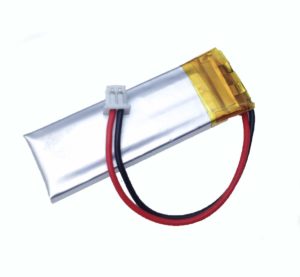
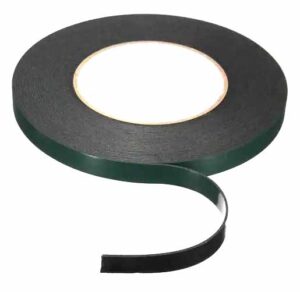
Power Pack: Power Pack includes everything in Kit Pack plus 2x micro servos, Spektrum DSMx micro receiver, 150mah lipo battery, a roll of black 2mm trim tape, your color choice of ultralight weight sticker decals, glue stick for covering wings.
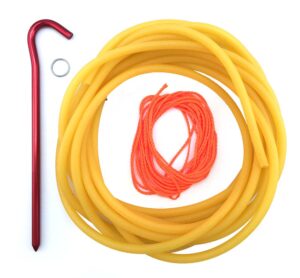
Ultra Pack: Ultra Pack includes everything in Kit Pack and Power Pack plus a bungee launch system.
Accessories:
2x Micro Servos – Micro DSMx receiver ( works with spektrum radios ) – 150mah 1s lipo batery – Bungee launch system – super light weight black trim tape
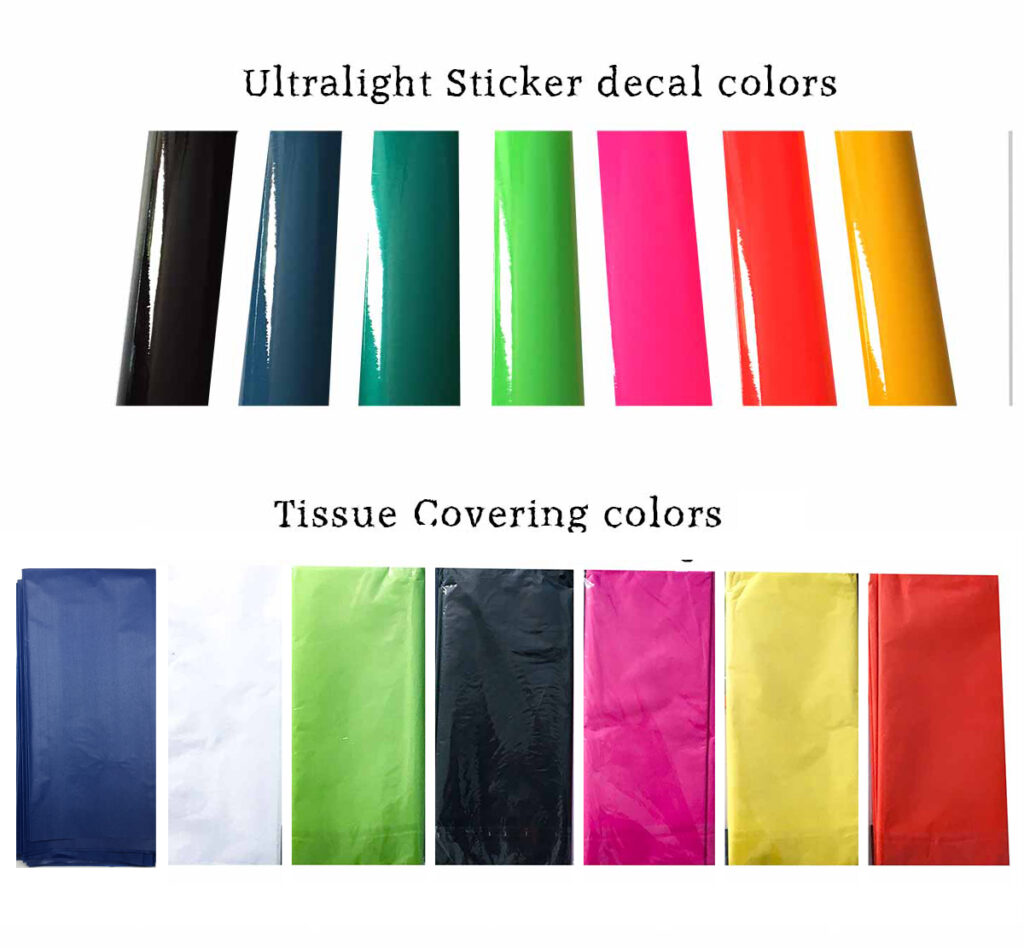
Colors are a lot more vibrant in person
Ultralight decal sticker colors:
black, blue, dark green, florescent green, florescent pink, florescent orange, Ferrari yellow
Tissue Covering Colors:
white, florescent green, black, florescent pink, yellow, florescent orange
You will receiver one color of each sticker decals and tissue. Tissue will be used to cover the bottom of the wings, while ultralight sticker decal will be used for the top center of the wings.
Battery Charger
 To re-charge your lipo batteries, use any lipo charger that offers a 1s charging capability at .1 to .2 amps. Click here for more information on battery chargers.
Tools needed to complete the Tiny Tail
1. Medium CA glue and Thin CA glue Click here for reference
2. Painters tape Click here for reference
3. Sand paper ( any grit )
4. Scissors
5. Xacto blade ( sharp with many tips to replace )
6. Scotch tape
7. Tweezers
8. Ruler
9. One free afternoon 🙂
Shipping:
US shipping: $6.89International shipping: Shipping fee has been added to international orders
All orders are shipped within a two day period of placing order.
All US shipping include tracking number
International shipping includes customs number
Submit your review | |
There is so much thought and love put into everything he does and it shows. From the packaging to the components, this kit is top notch and totally worth it. I built this in a couple of nights following the very detailed instructions. I had a question and he answered it quickly via email which shows he cares about his product. I truly enjoyed building it, so much so that I purchased 3 other kits from him. Buy anything he sells, you won't regret it.
I finally had the chance to build and fly my Tiny Tail. The first launch was a disaster—I forgot to set the launch mode, and it looped right back, hitting me square in the buttox! Luckily, no damage was done. On the second launch, I made sure to activate the launch mode, and it was perfect. The flight was smooth, and I managed to soar around my local baseball field for a solid 40 minutes. I’m definitely ordering another one!
i absolutely love your tinytail kit, the packaging alone is something to behold. many many thanks for this wonderful glider, i can not wait to build it.


